Tightening wheel nuts properly is essential for vehicle safety. Begin by hand-threading nuts onto bolts to ensure proper alignment. Using a torque wrench is best, with torque settings specified in the vehicle manual—usually between 80-100 ft-lbs. Tighten nuts gradually and evenly in a crisscross pattern to distribute pressure evenly. After driving a short distance, recheck the nuts’ tightness.
Following manufacturer specifications prevents damage to wheel studs or nuts. Regular checks maintain safety. If uncertain, seek professional help to ensure proper tightening and safety standards.
How to properly tighten wheel nuts?
By employing these steps, you achieve a balanced and secure tightening of the wheel nuts.
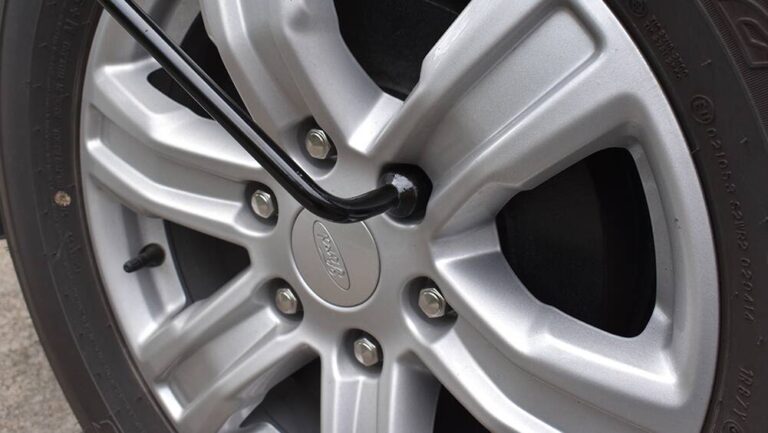
Hand-threading nuts onto bolts for initial alignment
Hand-threading involves initially placing the nuts onto the wheel bolts by hand. This step allows the nuts to align correctly with the bolts without using force. It ensures that the threads of the nuts engage smoothly with the bolts, preventing any misalignment issues.
By starting with hand-threading, you reduce the risk of cross-threading, which can damage the threads on the bolts or nuts. This preliminary alignment is essential before applying any force to tighten the nuts.
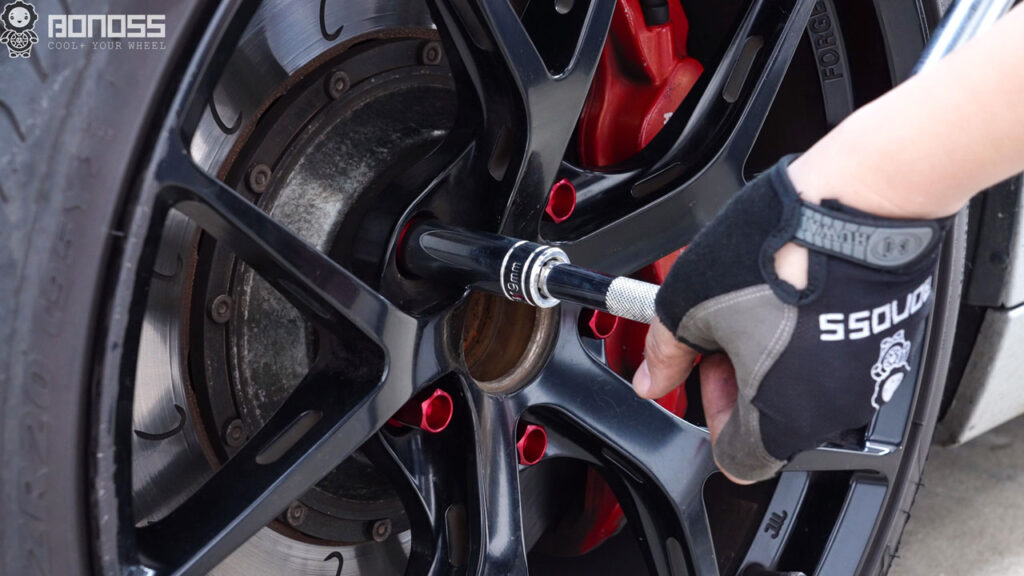
Using a torque wrench for precise tightening
A torque wrench is a specialized tool used to apply a specific amount of torque or rotational force to the wheel nuts. It allows for precise tightening according to the manufacturer’s recommended torque specifications, typically ranging between 80 to 100 foot-pounds (ft-lbs) of torque.
The vehicle manual provides the exact torque specifications for your specific make and model. These specifications are crucial as they ensure the appropriate amount of force needed to secure the wheel without over-tightening or under-tightening, which could lead to safety hazards or damage.
Gradually tightening nuts in a crisscross pattern for even pressure distribution
Once the torque wrench is set to the specified torque value, begin tightening the nuts gradually and evenly. It’s recommended to follow a crisscross or star pattern rather than tightening sequentially in a circle.
This pattern ensures even pressure distribution across the wheel. Start with one nut, then move to the opposite nut (forming an “X” pattern), continuing until all nuts are properly tightened. This method prevents uneven pressure on the wheel and helps avoid warping or damage to the braking system.
What’s involved in post-wheel nut tightening checks?
Conducting a post-tightening check by reconfirming the nut tightness after driving a recommended distance (usually between 50 to 100 miles) is crucial.
Importance of rechecking nut tightness after driving
After the initial tightening of wheel nuts, it’s essential to recheck their tightness following a short distance of driving. This step helps account for any potential settling or minor shifts that might occur in the wheel assembly due to factors such as wheel compression, temperature changes, or bedding-in of new components.
Rechecking the nut tightness after driving ensures that the nuts have maintained the proper level of torque. It allows you to detect any loosening or changes in torque that might have occurred during the initial driving period.
Neglecting this recheck could result in unexpected loosening of nuts, potentially leading to wheel wobbling, loss of control, or even detachment while driving, posing severe safety risks.
Recommended distance before rechecking (50-100 miles)
The distance recommended for rechecking wheel nut tightness typically falls within a range of 50 to 100 miles. This range provides an adequate period for any settling or adjustments in the wheel assembly to occur after the initial tightening.
The specific distance might vary based on different factors such as the type of vehicle, road conditions, and the nature of the wheel assembly. However, it’s a general guideline recommended by many manufacturers and professionals in the automotive industry.
This distance isn’t rigidly fixed and may vary depending on circumstances. For instance, if you encounter bumpy roads or rough terrain during the initial miles, it might be wise to recheck the nuts earlier, say at 50 miles, to ensure their stability.
Why follow manufacturer torque settings for wheel nuts?

Strict adherence to the manufacturer’s torque specifications and guidelines for tightening wheel nuts is essential.
Preventing damage to studs or nuts by following prescribed torque settings
Manufacturer specifications outline the recommended torque settings for wheel nut tightening. These specifications consider various factors like the vehicle’s weight, wheel material, thread pitch, and other critical elements specific to each vehicle model.
Following prescribed torque settings prevents over-tightening or under-tightening of wheel nuts. Over-tightening can lead to stretching or breaking of wheel studs, deformation of the wheel, or difficulty in future removal. Conversely, under-tightening can cause wheel wobbling, leading to potential accidents due to loose wheels.
The torque setting acts as a threshold, ensuring the nuts are tightened to the exact specifications, preventing damage to both the nuts and the wheel assembly. It’s crucial to use a torque wrench to apply the specified torque accurately.
Ensuring safety and longevity by complying with manufacturer guidelines
Manufacturer guidelines encompass not only torque specifications but also the recommended tightening sequences, patterns, and other crucial instructions for securing wheel nuts.
Adhering to these guidelines ensures the safety of the vehicle and its occupants. Properly tightened wheel nuts maintain wheel stability, preventing accidents that could occur due to loose wheels while driving.
Moreover, following manufacturer guidelines promotes the longevity of the entire wheel assembly, including studs, nuts, and the wheels themselves. It helps prevent premature wear and tear, ensuring the components function optimally for an extended period.
Compliance with these guidelines is not just about safety but also about preserving the investment in your vehicle. By following these specifications, you reduce the likelihood of costly repairs or replacements due to wheel-related issues caused by improper tightening.
FAQ’s
What is the proper tightening sequence for lug nuts?
The proper sequence is a crisscross or star pattern, ensuring even pressure distribution on the wheel.
Is it OK to tighten lug nuts with an impact wrench?
It’s fine to start the tightening process with an impact wrench but finish with a torque wrench for precise tightening.
Can you tighten wheels too much?
Yes, over-tightening can damage studs, distort brake rotors, or cause wheel warping.
Do you need to torque wheel nuts?
Yes, using a torque wrench ensures nuts are tightened to the manufacturer’s recommended specifications.
Can wheel nuts come loose?
Yes, factors like vibrations, improper torque, or worn components can cause wheel nuts to loosen over time.
Will loose lug nuts cause noise?
Loose lug nuts can lead to rattling or vibrating noises as the wheel becomes less secure while driving.
Final Words
In conclusion, ensuring the right tightness of wheel nuts is vital for safe driving. Follow the steps for proper tightening: hand-thread nuts, use a torque wrench, and check after driving. Adhering to the manufacturer’s recommendations prevents damage and keeps everyone safe.
Regular checks maintain safety while driving. Always follow guidelines to keep wheels secure and vehicles running smoothly.